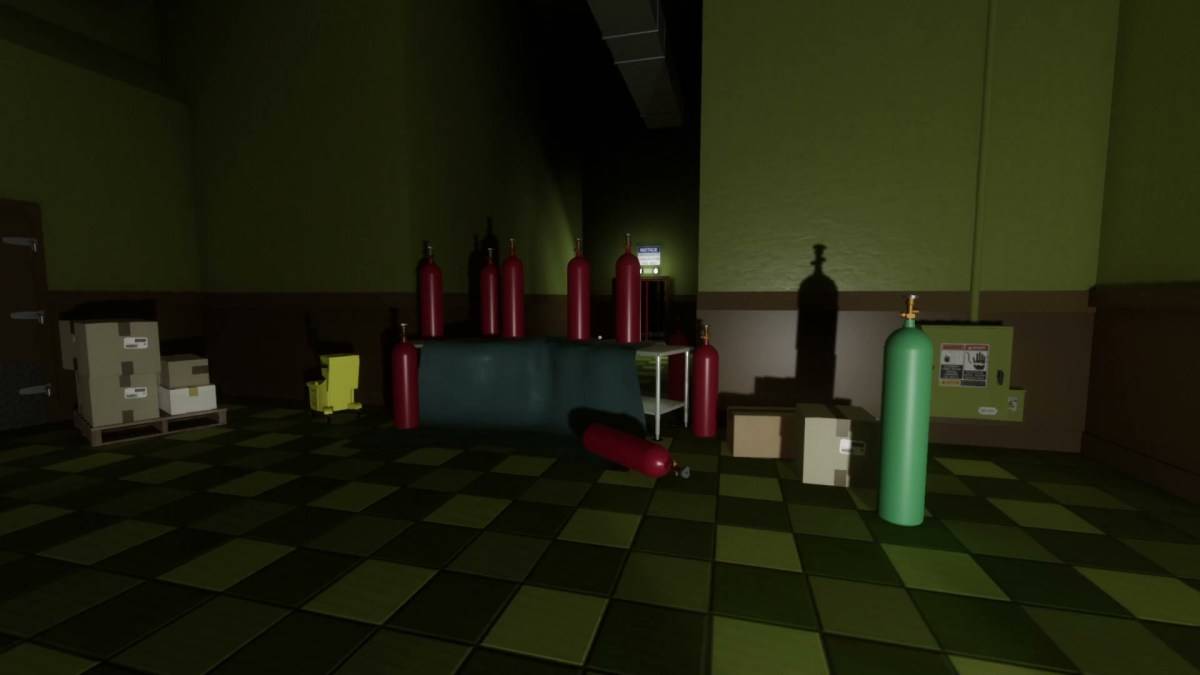
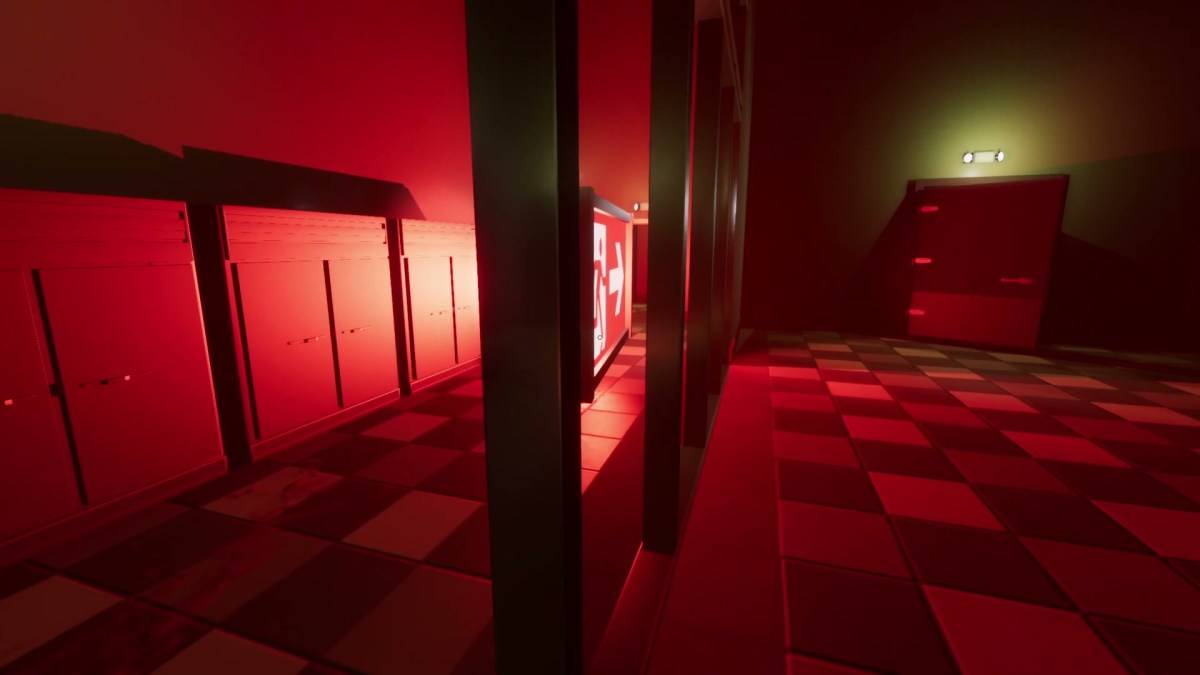
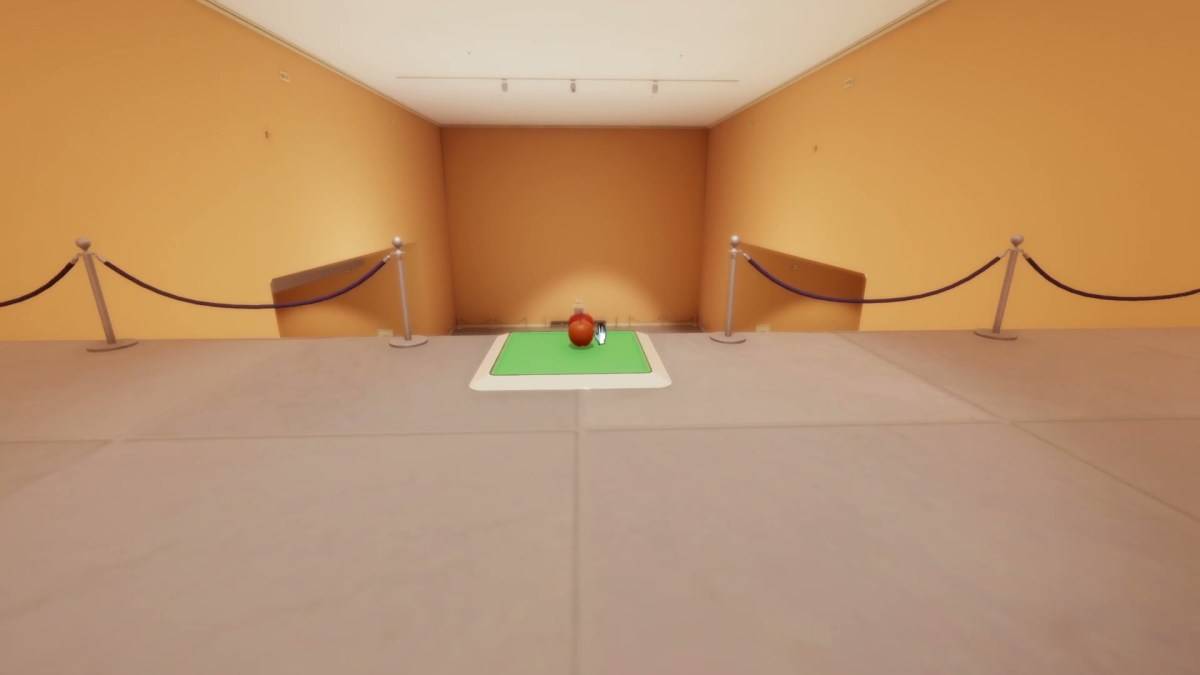
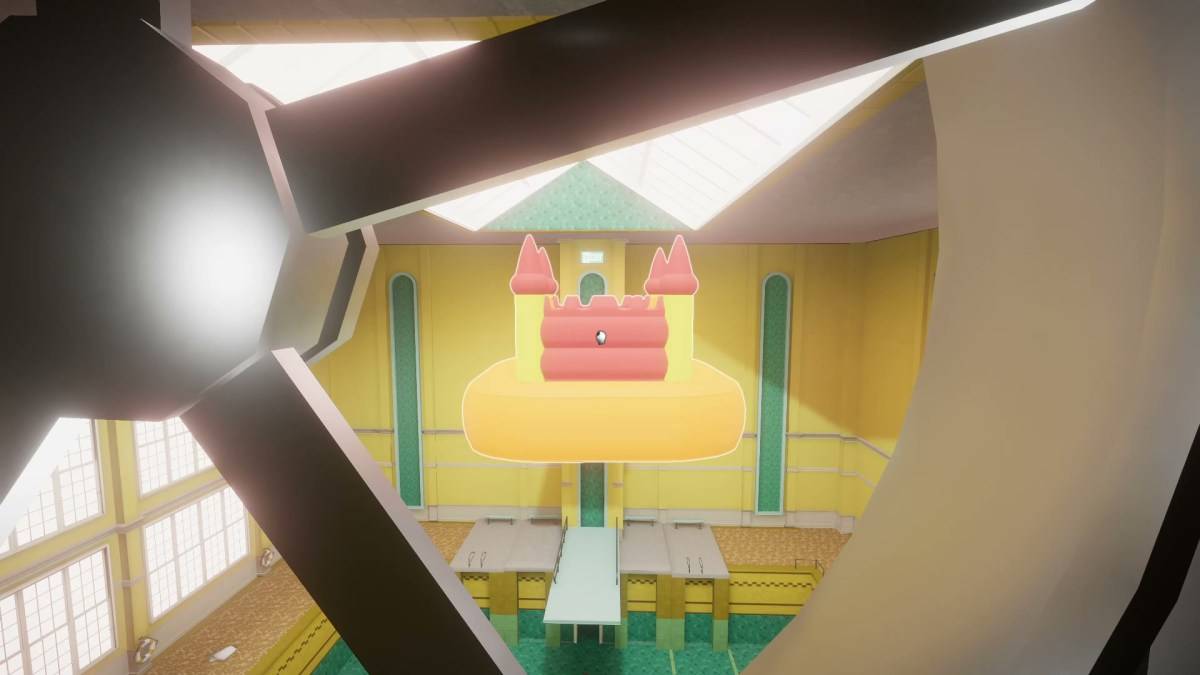
Superliminal is a brilliant, mind-bending trip through your own dreamscape, where perspective is everything. It also tests your puzzle-solving skills to the limit, so if you’re finding the game tricky or stuck on one particular room, we’ve got you covered with our full Superliminal walkthrough.
Table of contents
Play and Solve Superliminal With Our Full WalkthroughLevel 1 – InductionPuzzle 1Puzzle 2Puzzle 3Puzzle 4Puzzle 5Puzzle 6Puzzle 7Puzzle 8Puzzle 9Puzzle 10Puzzle 11Puzzle 12Level 2 – OpticalPuzzle 1Puzzle 2Puzzle 3Puzzle 4Puzzle 5Puzzle 6Level 3 – CubismPuzzle 1Puzzle 2Puzzle 3Puzzle 4Puzzle 5Puzzle 6Puzzle 7Puzzle 8Level 4 – BlackoutPuzzle 1Puzzle 2Puzzle 3Puzzle 4Puzzle 5Level 5 – ClonePuzzle 1Puzzle 2Puzzle 3Puzzle 4Puzzle 5Puzzle 6Level 6 – DollhousePuzzle 1Puzzle 2Puzzle 3Puzzle 4Puzzle 5Puzzle 6Level 7 – LabyrinthPuzzle 1Puzzle 2Puzzle 3Puzzle 4Puzzle 5Puzzle 6Puzzle 7Puzzle 8Level 8 – WhitespacePuzzle 1Puzzle 2Puzzle 3Puzzle 4Puzzle 5Puzzle 6Puzzle 7Level 9 – RetrospectPlay and Solve Superliminal With Our Full Walkthrough
Before we delve into this puzzle-by-puzzle Superliminal walkthrough, we’re going to cover the basics. First of all, you cannot die. Even if you drop a colossal block on your head it’ll bounce right off, not least because this is all in your head.
Secondly, use the practice room to get used to the way the world works. Pick up a few objects and play with them. The short version is that if you release an object when it’s close to the floor or the wall it’ll be small. If you release it when you’re looking further away, for example, it’ll become larger.
You can repeat this several times; drop an an object when you’re looking at an opposing wall and it’ll get bigger. Pick it up, walk back to where you were and do the same thing, and it’ll get bigger still.
Here’s another example, Pick up one of the pawns from the desk, cross the room, and hold the pawn over the desk. See how it looks like it’s as big as the lamp? Release it and it will be as big as the lamp. Perception is everything, as the note in the practice room explains. You’ll also find you can make objects pop into existence by lining them up in your vision.
It’ll take a bit of getting used to but don’t worry, it’ll soon be second nature. Here, then is our Superliminal walkthrough, covering each of the game’s nine levels.
Level 1 – Induction
This level teaches you the basic techniques for making your way through Superliminal.
Puzzle 1
Sign the contract if you so choose, then head down the corridor into the next room.
Puzzle 2
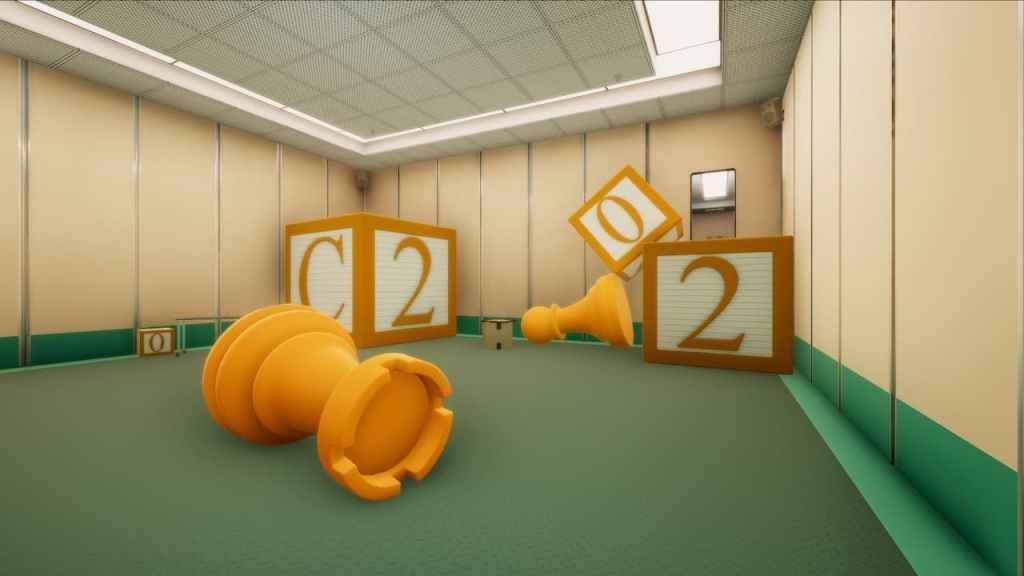
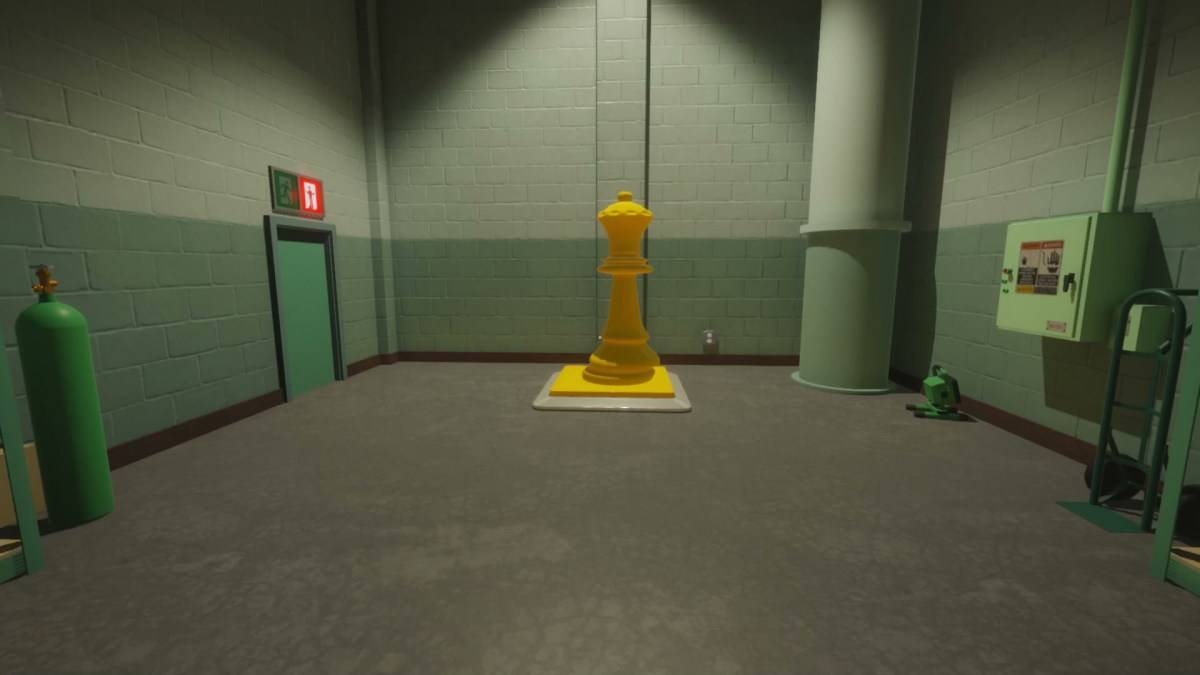
Practice with the pawns and other items on the table, then head through the door. You’ll find a giant chess piece blocking your way. Pick it up, look down at the floor and drop it. Jump over the box and into the next area.
Puzzle 3
The exit door is in the far right-hand corner of the room, behind the two stacked blocks. Pick up the top block and release it near the floor to shrink it. Now, jump on the fallen chess piece and run and jump to the top of the block, then out the door.
You’ll see your first object-blocking door. You can pass through these wibbly-wobbly doorways if you’re empty handed but if you’ve got an object it’ll block you.
Puzzle 4
You have to put something on the button to keep the door open, as in Portal. You can’t run fast enough to make it through the door before it closes. Stand on the right hand side of the button, so you can see through the door when it opens. Pick up the cube and put it on the button (its size doesn’t matter) and head through the door.
Puzzle 5
Looking into the previous room, pick up the cube, and look at the ceiling in this room. Drop the cube and pick it up to make it larger. Keep picking it up, looking up and dropping it until it’s large enough to act as a step to the door in the corner. Jump on it and head through and keep going to the next room.
Puzzle 6
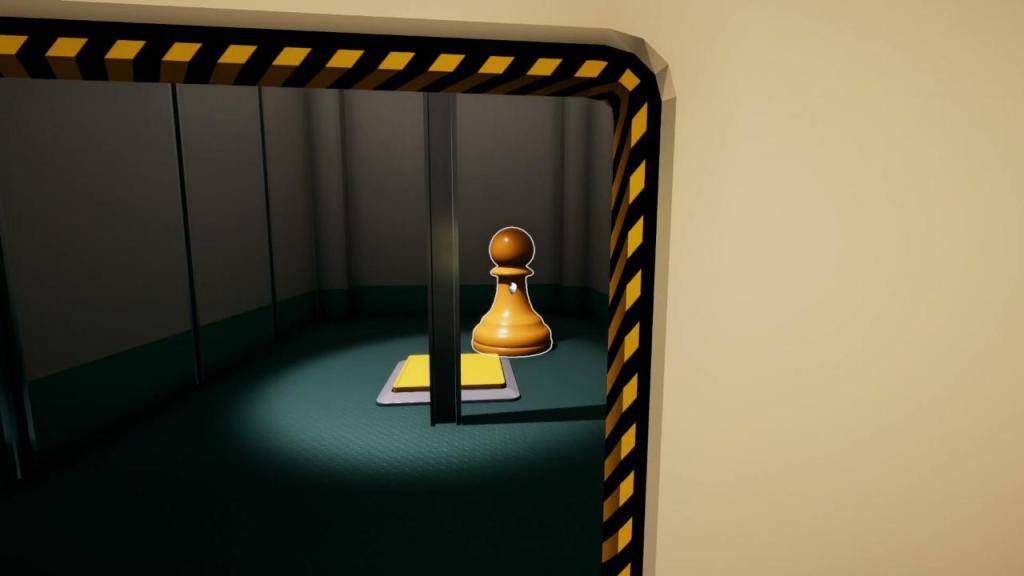
Look through the window on the left and pick up the pawn chess piece. Now, look through the window on the right and place the piece on the button. Look where the piece’s shadow is to help you align it with the button. Exit through the door.
Puzzle 7
This will teach you to rotate objects, though you can only rotate them through one plane. Pick up the cheese and use the look up/drop technique to make it big enough to act as a ramp to get you through the doorway.
Puzzle 8
Pick up the massive block and hold it against a wall, then release it, to shrink it. Do this again and now it’s small enough, put it on the button to the right of the door.
Puzzle 9
Grab the massive block from the left and drop it near the bottom of the wall so it gets smaller. Now, look through the broken window and place the now-tiny block on the button you can see through the broken window beyond. You may also be able to get it through the window by dropping it on the slope.
Puzzle 10
The trick here is to get the block over the top of the wall, into the room beyond. Some of Superliminal’s rooms have walls that don’t extend all the way to the ceiling, so watch out. Pick up the block and stand in the back left-hand corner of the room.
Raise the block until it’s clear of the top of the wall (you should see shadows on it) then release it and it’ll fall into the other half of the room. If it doesn’t land on the button, put it on there and exit. No matter which direction you take next, you’ll end up at the next room.
Puzzle 11
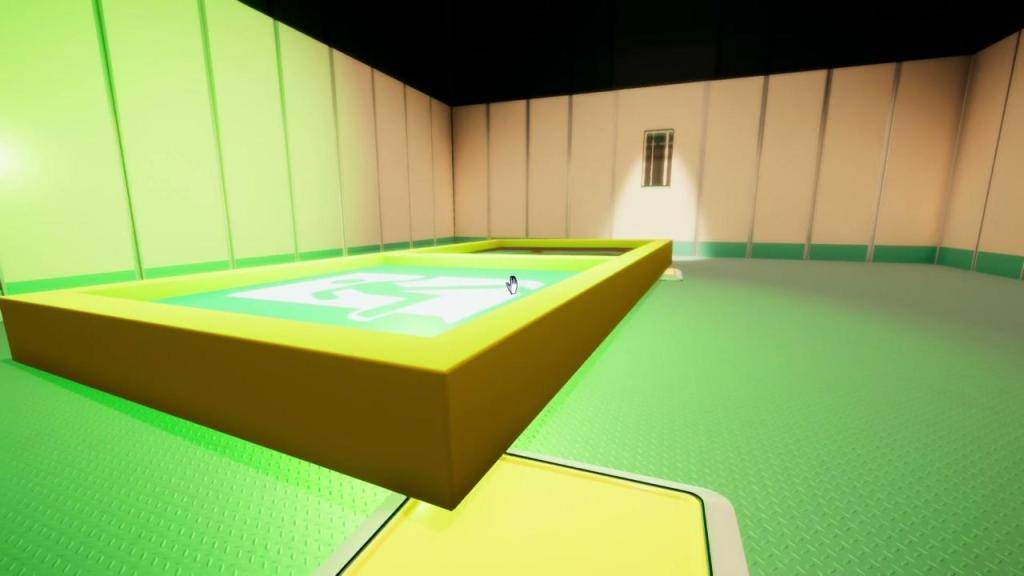
Pick up the wonky exit sign and keep dropping it from the ceiling until it’s enormous. When it’s big enough, rotate it so it touches both buttons at once, release it, then exit.
Puzzle 12
There’s a brick wall behind the door, so ignore the button. Instead, peek through the crack in the wall panels to the left and take the cheese wedge. Make it as big as you can and rotate it so that the point is against the other wonky wall panel, the one that’s leaning slightly inwards.
Stand back and let go and it should knock it and several other wall panels down. Climb over and keep going to complete this level.
Jump to Top
Level 2 – Optical
I’m going to assume that, by now, you’ve got the hang of making objects bigger and smaller, so we won’t give you explicit instructions how to do that. Here’s how to negotiate this level.
Puzzle 1
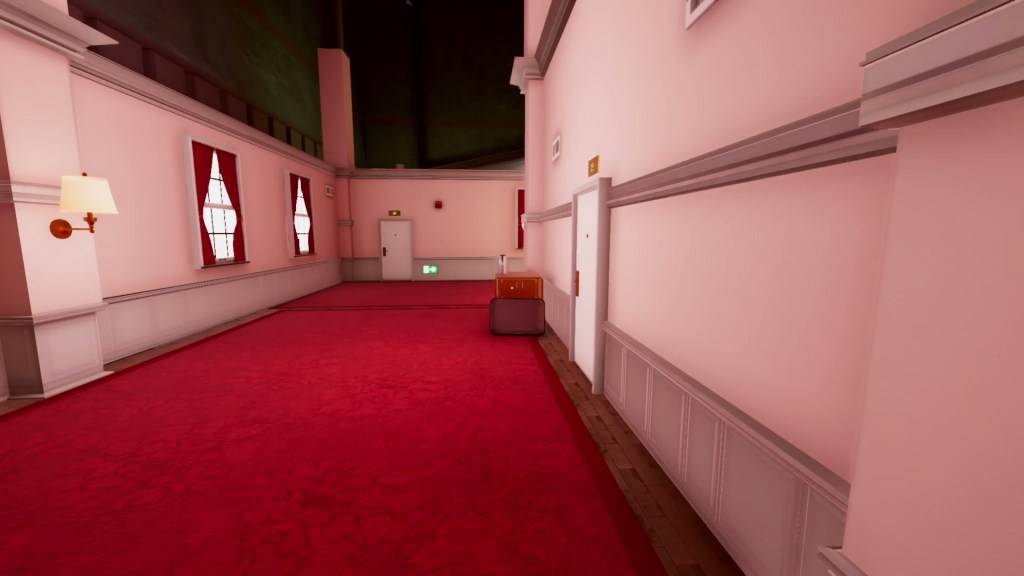
Progress through the hotel till you reach the fire exit door. Pick it up and set it aside and keep going. When you see a nighttime painting in your left, walk towards it to go upstairs. Keep going till you reach the large room. Now, pick one of the exit signs off the wall and make it bigger till you can climb over the far wall. Hop up the boxes and through the door.
Puzzle 2
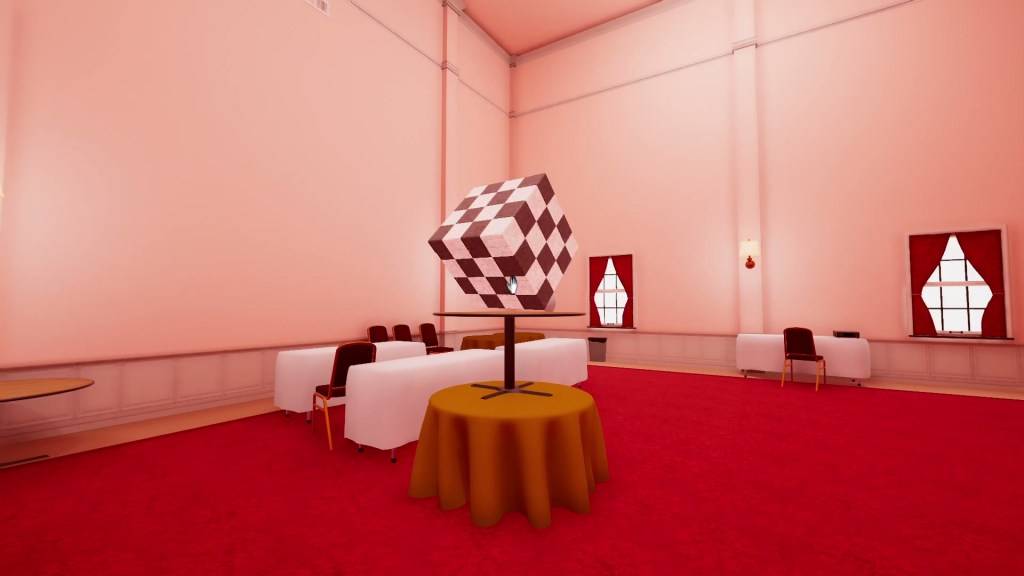
Go into the room to your right, and stand near the fold-out tables and projector. Face the cube-painted items until they line up and form a perfect cube, which will pop out. Make the chequered cube big enough to stand on and use it to reach the corridor exit.
Puzzle 3
Another cube. This time, stand behind the table with an X on it, looking at the flowers and walk backwards till they line up. Now, go to the opposite side and line the flowers on the newly-appeared table with the flower hole in the checkered cube to get the cube. Rotate it to reveal it’s actually a set of stairs, then make it big enough to exit the high door in the corridor.
Puzzle 4
Bring the cube stairs with you and use them to get to the ledge on the left of the big room. Line up the missing part of the fire exit door on one of the pillars to make the door real and, without moving, ‘open’ it by clicking on it. Now, exit through this new doorway.
Puzzle 5
Head up the stairs and into the room with the spilled paint. Line up the cube on the ceiling, then pick it up. Next, enlarged it and get onto the upper level and then the yellow gantry. On the gantry, line up the green pipe with the stain to make a chess piece. Pick it up, then exit through the hole it’s made.
Puzzle 6
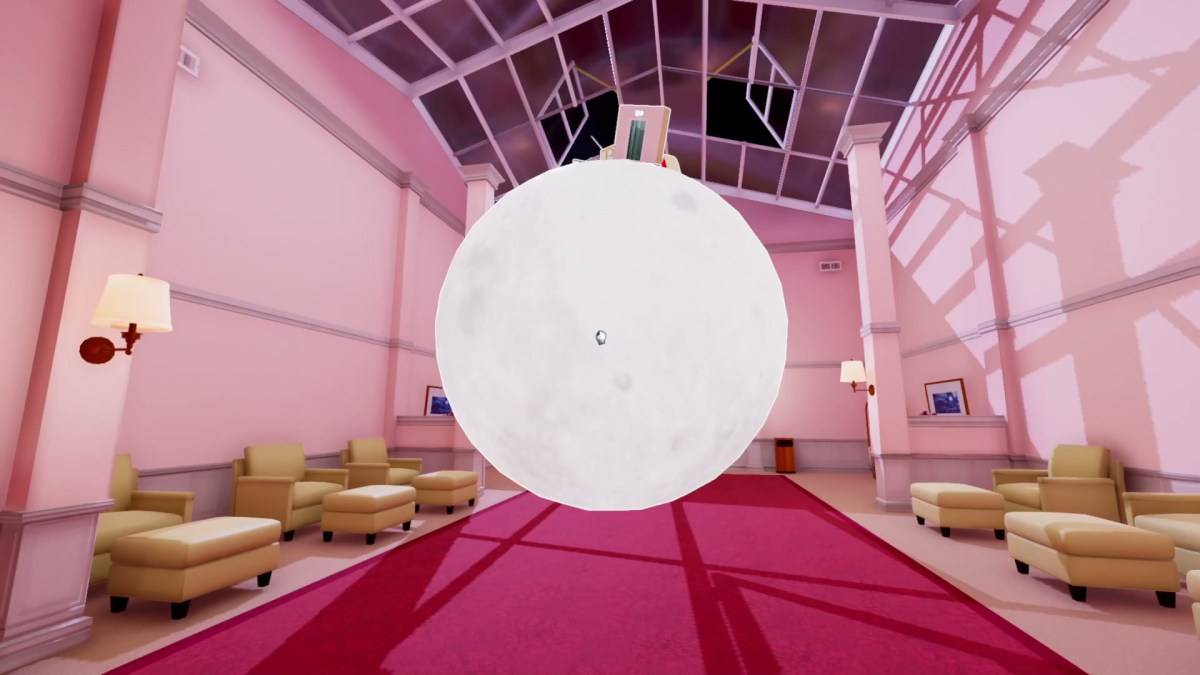
Back in the hotel, look through the far skylight and pick up the Moon. There’s a tiny, tiny, door on it, so pick it up and rotate/enlarge it till it’s big enough to walk through. Enter the elevator to complete the level.
Jump to Top
Level 3 – Cubism
Get ready to mess around with an awful lot of dice, as you explore a mental museum/art gallery.
Puzzle 1
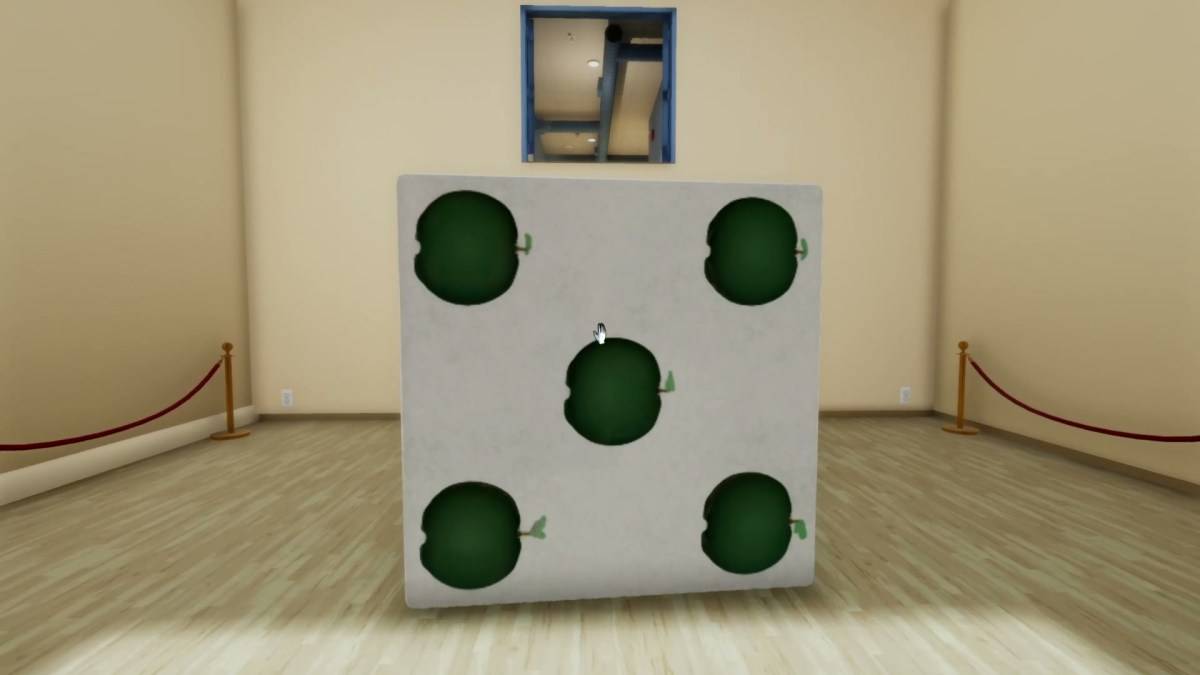
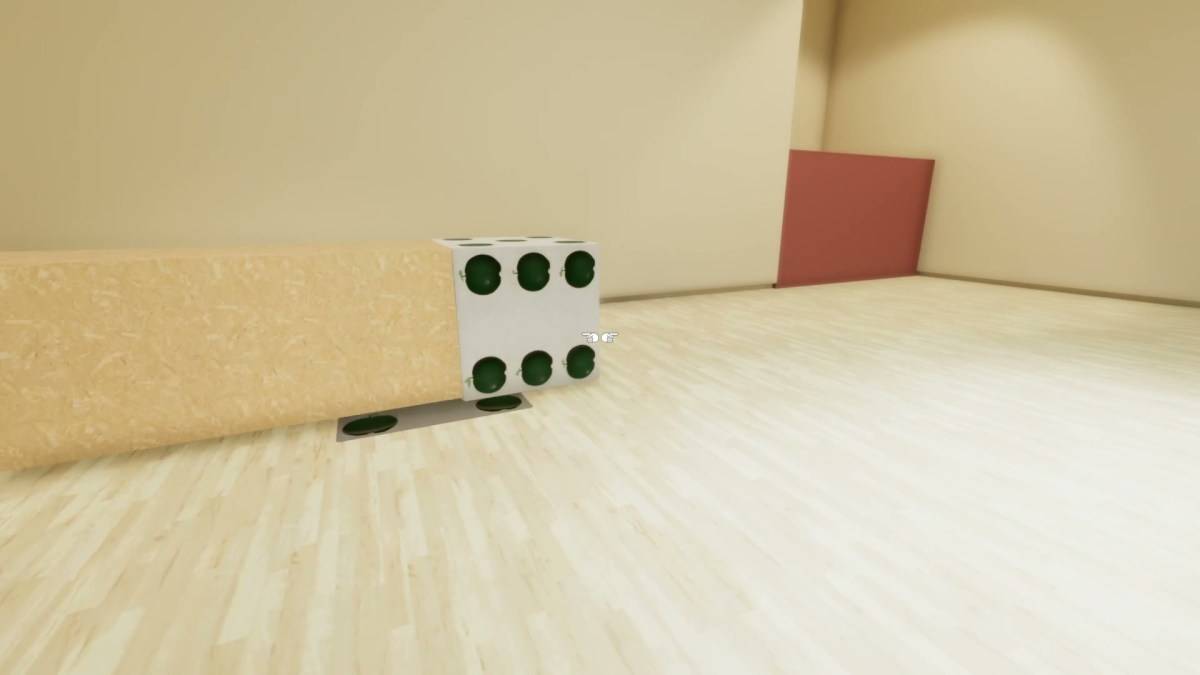
Once you’ve reached the gallery, go into the Curator’s Room to the right and grab the dice. Make it big enough to ascend to the ledge and go into the next room, taking the dice with you.
Puzzle 2
Make the dice big enough to reach the exit, then get the smaller dice from the alcove in this room and use it as a stepping stone onto the big dice. Go through the high door.
Puzzle 3
A nice easy one, this. Just pick up the new dice on the floor and jump down the hole it leaves, grab the air vent beneath the floor and keep going.
Puzzle 4
Another easy one, just use the dice as steps and keep going.
Puzzle 5
As you walk in, you see three dice. You can’t pick them up like the other dice since they’re attached to the floor but you can slide them around. Go to the middle dice and lower it into the floor, then pull the left-hand dice all the way to the right. Jump onto it and onto the ledge.
Puzzle 6
The dice will all collapse, but pick up any one of the sides and use it to make a ramp to reach the ledge and exit the door.
Puzzle 7
Grab the dice and position it near the ledge. It’ll explode but if you’re lucky it’ll form steps you can go up. If not, pick up any piece of the dice and enlarge it and place it on top of the other chunks, so you can ascend to the ledge.
Puzzle 8
Pick up the dice face opposite the stairs, throw it aside, and enter the cube. Shortly after, head to the elevator to complete the level.
Jump to Top
Level 4 – Blackout
There’s no actual chance of death here, but you may have a scary moment or two. You’ll have to walk a little while before you encounter a puzzle.
Puzzle 1
This is less a puzzle, more a test of courage. The door ahead leads to a dead end, but if you walk to the right hand side of the room, through the darkness, you’ll see an exit right at the back.
Puzzle 2
A little further on, you’ll encounter a room where walking forward plunges you into a red pit. Get close to the pit and look at the ground. To the left you’ll see the start of a small, winding platform that takes you across. Follow it across the pit, eyes on the floor, to reach the next area.
Puzzle 3
When the door slams behind you, turn around and walk backwards into the darkness. You’ll see there’s an arrow, pointing to a set of silhouetted stairs. Ascend the stairs.
Puzzle 4
When you hit the red room, it looks as if your way is barred by planks. Look through the planks and take the exit sign. Enlarge it a couple of times and then go back through the door with the plastic strips.
Now, turn right and go past the boxes, using the exit sign to light your way. Head up, over and through the boxes, then drop the exit sign before going through the door.
Puzzle 5
When you reach the storeroom, there’s another red exit sign but you can’t take it with you due to the object-blocking door. Instead, make it big enough to illuminate the storeroom through the glass window. Now that you can see, go inside and climb the boxes to the high exit.
Finally for this level, when you reach the IKEA, sorry, IDEA generator, interact to turn it on, and go straight head, reach the elevator and you’ve completed this level.
Jump to Top
Level 5 – Clone
Level 5 – Clone is so called because some of the objects you interact with will spawn copies of themselves. You’ll soon encounter a green fire door you can pick up and discard, then it’s into the level’s first proper puzzle.
Puzzle 1
There’s a big green button but nothing obvious in the room you can pick up; the dice and chess piece are screwed down. Instead. go back and get the door you pulled off its hinges and place that on the door.
Puzzle 2
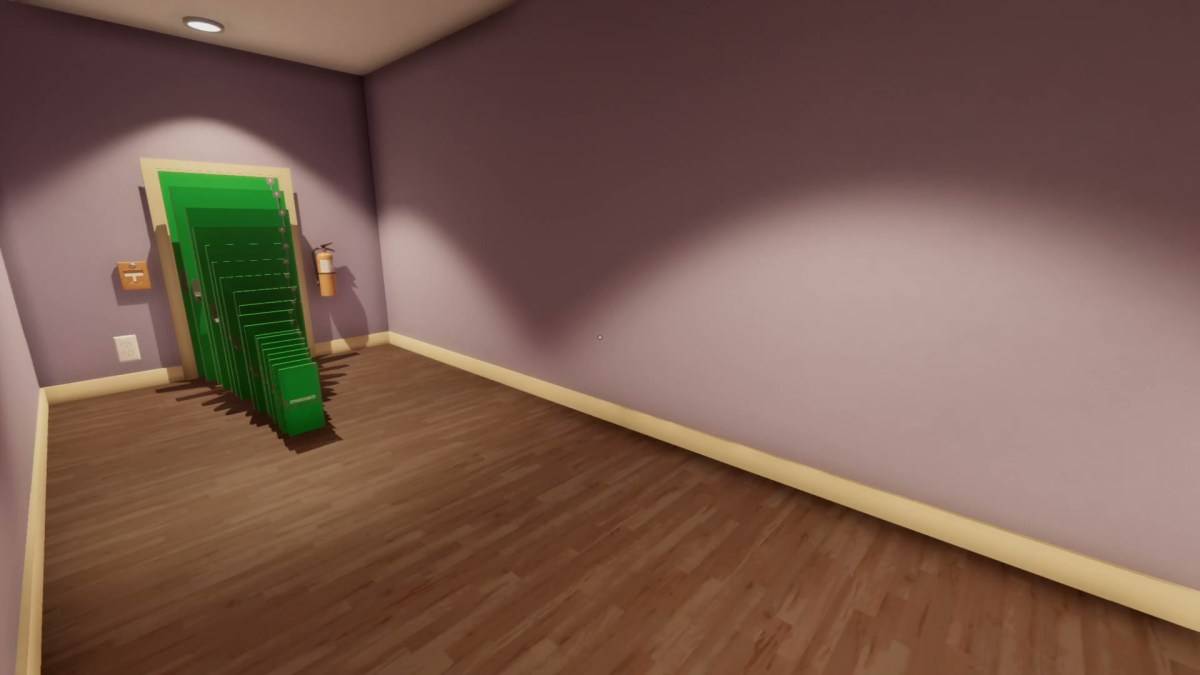
Next, you’ll encounter a Y-shaped corridor with fire doors at each end. The problem is that when you try to open either it just spawns another, smaller door, then another one, then another one and so on.
These might seem like dead ends, but there’s a way through. Go to the right of the two doors and keep clicking until you’ve created a staircase of doors. Then, jump on them and climb over the top of the wall, landing behind the door.
Puzzle 3
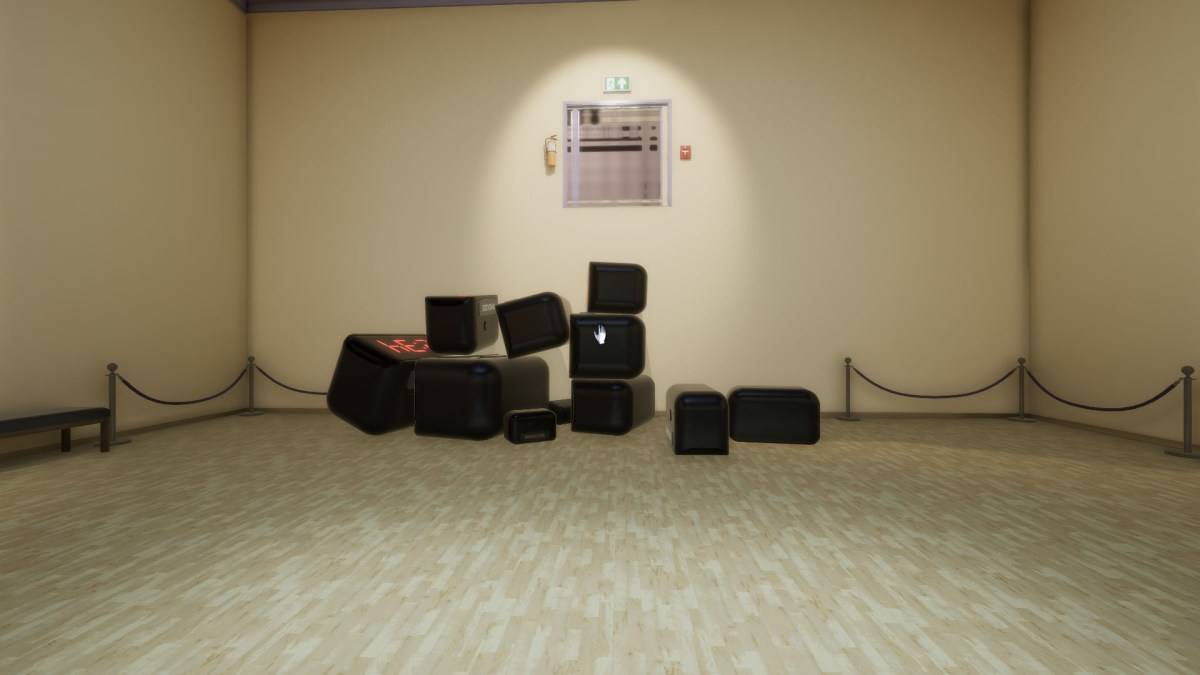
Each time you click on the clock, it spawns another, so take the duplicates and enlarge them, making one massive one and a few smaller but still large ones then put them together to make a staircase.
See the example above, though you can probably be a bit neater than we were. And as the sign says, you can use your PC/console’s button to make the copies disappear.
Puzzle 4
The apple is on the button, keeping the door locked, but clicking doesn’t move it, it just spawns more apples.
Instead, stand close to the apple, clone it, look at the ceiling and release it to drop a massive apple that’ll knock the smaller apple off the button. If you miss, hit right click, your console’s equivalent button, and try again.
Puzzle 5
Your objective here is to get an apple up the stairs and onto the green button. You can only clone the apple, not carry it and, unlike Puzzle 3 and Puzzle 4, you can’t carry the clones.
Instead, as above, climb the stairs and stand behind the green button, looking down at the apple so the bottom half of the apple is hidden. Click on the apple and an apple will clone onto the green button.
Puzzle 6
Stand at the entrance to the room and keep cloning the SomnaSculpt sign till you’ve got enough cloned signs to climb and jump up. Climb up to the top level and jump down the hole beneath the door. Keep going through a few linear corridors to reach the elevator and end the level.
Jump to Top
Level 6 – Dollhouse
Instead of following the usual route, your only option is to enter the Relaxation Room. To reach the first puzzle, head through the movie theatre and turn right when you see the Suite G door. Go through the office area and through the object-blocking door which drop you down.
Puzzle 1
Pick up the dollhouse. Now, looking up to the ceiling, drop/enlarge till it’s the biggest you can make it. You’re not just trying to make it big enough to walk into, you want to make it large enough that the dollhouse window is above your head. The doorway should dwarf you. Now, go inside, through the door ahead of you, and jump up onto the suitcases and table into the other door.
Puzzle 2
Walk a while and you’ll reach a room with a door on top of what appears to be a massive pile of Jenga blocks. Pick up the small fan and make it as big as you can, then place it so that it’s blowing at the blocks, which will make them collapse and knock the door free. Go through the door.
Puzzle 3
Click on the second window from the left to pick it up. Enlarge it via the usual look-up-and-drop method and when it’s large enough, walk through it.
Puzzle 4
Pick up the inflatable castle and enlarge it until you can walk through the door. Head through the door, then through the vent fan.
As above, looking through the vent fan, pick up the inflatable castle, and place it on the top diving board, where it should balance.
Go back through the door which will take you to the top diving board, now go through the door in front of you. If the door is too small, go back to the vent and enlarge the inflatable castle a little.
Puzzle 5
You’re now faced with two doors which lead to each other and a high-up door on the wall. Position the bigger door so it’s close to the upper door/keyhole, facing it, and covering the bottom 1/4 of it. There should be enough room between it and the wall that you can shimmy through and enter the door. This may take a bit of resizing.
Now, get the smaller door and position it so it’s on top of the first door (see above picture). Squeeze between the wall and the big door and enter it. You’ll emerge from the little door and can pass through the keyhole.
Puzzle 6
At first glance it looks like your task is to return to normal size so you can exit the door, but that’s not the case. Instead, grab the cardboard doll’s house off the chair, and resize it on the ledge you’re on so you can enter it. Enter the elevator to complete the level.
Jump to Top
Level 7 – Labyrinth
It’s straight out of bed and into the backrooms of this level. Keep walking while the voice talks about the emergency protocol, at which point you’ll be back in the bedroom.
Puzzle 1
Your first task is to deal with the alarm clock loop. You can walk for a while but then the alarm clock will beep, returning you to the bedroom several times. Keep doing this till the screen goes black and gravity shifts. Exit by dropping through the doorway into the catering area.
Now, click on the alarm and you’re back in the bedroom, right way up. Click on the blue sky painting on the wall, and take it to the end of the blank hallway, placing it where a door would be, filling the wall. Now walk into the painting (you may need to jump over the frame) and sidestepping left, continue. You’ll eventually end up in a red hall where gravity has you pinned against the wall.
Puzzle 2
Inside the hall, click on the grey door to the right to reveal the exit and make the grey door itself drop down. Lift the fallen door and you’ll find a hole beneath it. Jump down through this hole. Keep going and you’ll find yourself in an an orange hall.
Puzzle 3
The orange hall has a sneaky ‘trap’ solution. Go to the right wall and look at the painted block, trying to line it up. As you back up, you’ll fall down the crack by the wall, taking you to the next area. Or if you want to skip that, just run up to the wall and drop down.
Puzzle 4
This is another trap room. Grab the spiral staircase, look up and drop it. It’ll get larger, but it’ll smash through the floor, plunging you into the room below. Climb down, right to the bottom, move the junk (it looks like a slide) near the elevator and enter it to… not complete the level. You’re not done yet.
Instead, turn around in the lift and exit through the door behind you. When you reach the repeating hallway, just follow the direction on the exit signs to get to the next area.
Puzzle 5
Put the dice on the left ledge (you’ll have to shrink it a bit) to climb up onto the next level part of the swimming pool. Turn around to look at the dice and it’ll appear on the top level of the pool. Use the dice to climb to the next level and exit through the door.
Puzzle 6
If you put the chess piece on the button it’ll turn 2D, which is of no use to you. Instead, or afterwards, stand on the button and look through the door. Take the other chess piece, the knight, and use that to hold down the button.
Puzzle 7
Pick up the dice and the room will change. Now, use the dice to climb onto the level where the bed is, pick up the cube and drop it. You’ll be transported to a long, dark corridor. Walk up to the end wall, then drop down to be transported again. Click on the alarm clock and you’ll appear in the middle of a group of elevators.
Keep going in one direction and you’ll eventually see an arrow. Follow that arrow, opening door after elevator door, till you see another arrow. Keep following the arrows till you reach a darkened hallway. Click the alarm clock and walk forward into the elevator. It’s still not an end-of-level elevator, but you’re closer.
Puzzle 8
You appear to be outside, but when you get close enough to the lampposts, they’ll turn into a 2D image. Walk up to each of the four ‘walls’ and when you do, a bedroom will appear in the middle of the area. Go inside and click on the alarm clock to complete the level.
Jump to Top
Level 8 – Whitespace
This is the homestretch – you’re nearly done. But before you are, your first puzzle is how to get the hell out of the room you wake up in.
Puzzle 1
There’s no obvious exits from the room, so don’t try headbutting that brick wall. Instead, look at the building model on the table. Click on the chunk of building to the left of “Jungles” and enlarge it till you can enter the door.
One way is to make it a little bigger, then stand by the desk and noticeboard and move the building so it obscures the far door. That should make it large enough for you to enter. If the noises haven’t made it clear, you’re manipulating the very building you’re in.
Now you’ve gone through that door, the bricked up doorway is now open. Passing through will take you through the entrance of the model building. So, following on from the warning you had about not breaking the dream, shrink the model building, pick it up, and walk towards the door.
The building in your hands will disappear with a pop. Now, walk through the door and wait as the whole room dissolves into white. Keep walking in a line (you’ll fall a couple of of times) till there’s a black block in front of you.
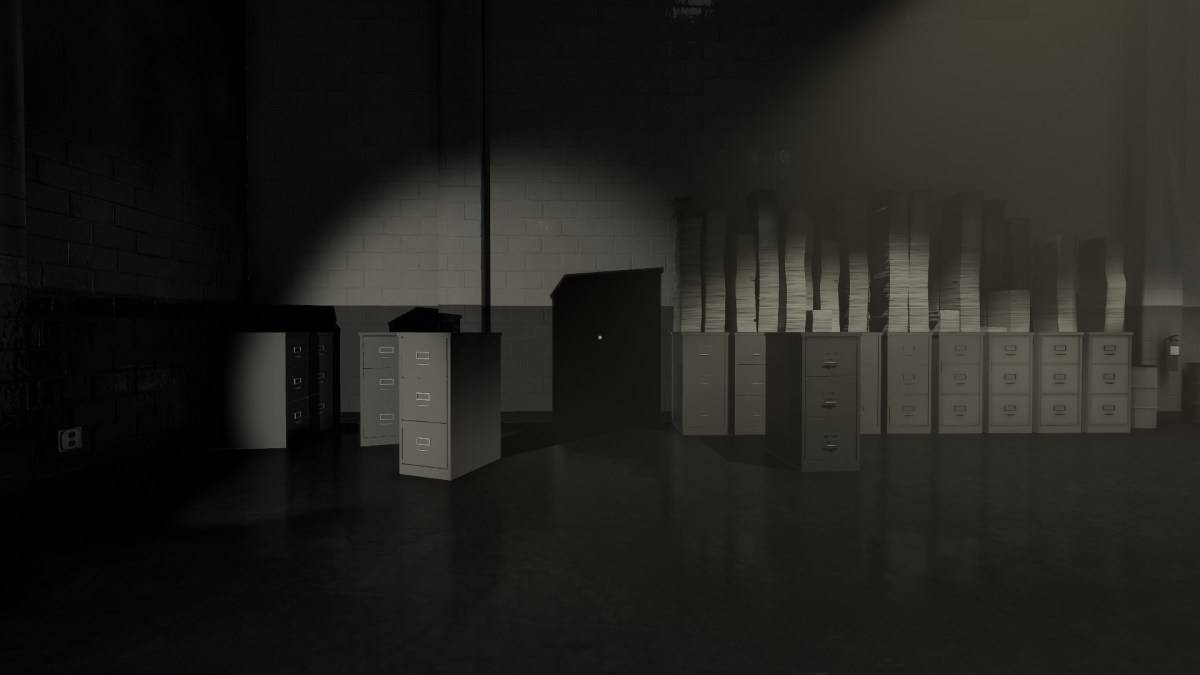
Pick up the black block and go through the doorway behind it, then keep walking more or less in a straight line. When you get to the filing cabinet room, walk through the large filing cabinet shadow on the wall (see above picture).
Puzzle 2
You’ll eventually reach a long hallway with open walls and white pillars. Walk through and around till you see a white window in a black area.
Walk through the window. There’s a room opposite but you can’t reach it as it’s too high. Turn around and pick up the now inverted window, which has become a cube, and use it to climb through the far door. In the next room, walk behind the wall with the window and keep walking towards the containers and chimney in the background and flick the switch.
Puzzle 3
Walk towards the stairs but instead of trying to climb them, walk through the white stair shape. Now, walk up these new black stairs and follow the black path till you fall and keep walking.
Puzzle 4
You’ll soon be in a hallway with red, yellow and blue pillars that just keeps looping around on itself. You can walk right through the white walls so do that and you’ll find another door behind the red and blue end of this odd structure. Keep going till you reach the chessboard.
Puzzle 5
If you step onto the chessboard you’ll fall through the black and white squares – there’s no secret pattern here. Instead, you have to work your way across using the chess pieces from the table.
Put the white (yellow) piece on a white square, then cross to that square. Pick up the black piece, put it on a black square and cross to that square. Pick up the white piece and.. well, you get the idea. repeat this till you’re across.
Puzzle 6
You’ll reach a white door you can’t go through initially and while you can make the cube bigger you’ve only got the one so reaching the high door seems impossible. Here’s where it gets strange, even by Superliminal’s standard.
You have to turn the 2D white door into a room by picking up the cube and dropping it behind the white space behind the door. As long as that cube is in there, you can pass through the door.
You’ll find a cheese wedge there, so grab the wedge and bring it through to the side with the high door. Enlarge the wedge so you can climb up it and reach the door. The best way to do this is to drop it a couple of times then face the door and position the wedge below it.
Puzzle 7
Once out, keep falling down the chequered holes and down the corridors. You’ll eventually pass through a door and be looking into whitespace. Turn right around and click on the black box to reveal an exit sign and a red pit. Jump into the pit and wait, and you’ll have completed the level.
Jump to Top
Level 9 – Retrospect
Activate the alarm clock and the door will open and.. that’s it, really. You’ll get an inspirational talk from Dr. Glenn Pierce, and you’ll be revisit sections of previous levels and areas you haven’t seen. You’re not in the driving seat, though, you can move around but the game will soon transport you to the next area.
And that’s it! Congratulations! With a little help from our Superliminal walkthrough, you’ve beaten the game. Want to stretch your brain even more? Give Superliminal’s Challenge Mode a try. And if you need more help, check out our other video game guides.
Jump to Top