Mods can enhance gameplay experiences, including in *Ready or Not*. However, these modifications may introduce stability issues and prevent multiplayer sessions with non-modded players. Here's a complete guide to removing mods from *Ready or Not*.
How To Remove Mods in Ready or Not
Whether installed manually via Nexus Mod Manager or through mod.io, all *Ready Or Not* modifications can be easily removed:
- Launch *Ready Or Not* and unsubscribe from all mods via the in-game Mod Menu to prevent automatic redownloads
- Close the game completely
- In Steam Library, right-click *Ready Or Not*, select Properties → Installed Files → Browse
- Navigate to *Ready Or Not* → Content → Paks
- Delete all contents in the Paks folder, then remove the folder itself
- Press Windows+R, type %localappdata%, locate *Ready Or Not* → Saved → Paks and delete this folder
After completing these steps, verify game files through Steam (Properties → Installed Files → Verify Integrity of Game Files). For optimal results, consider reinstalling the game if you don't plan to use mods again.
Why Remove Mods?
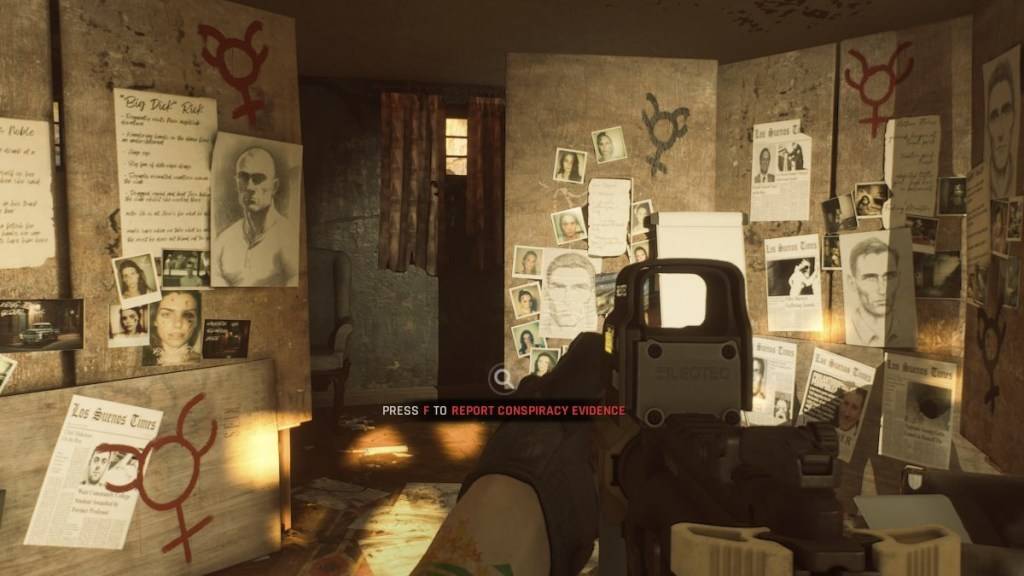
While *Ready Or Not* offers excellent mod support with simplified installation, third-party modifications can introduce:
- Game crashes and stability issues
- Incompatibility errors between different mods
- Multiplayer restrictions (requiring all players to use identical mods)
New players especially benefit from removing mods for seamless cooperative play with friends who haven't installed modifications.
*Ready or Not is available exclusively on PC.*