Hogwarts Legacy: A Guide to Nicknaming Your Rescued Beasts
Hogwarts Legacy continues to delight players with its depth and hidden features. One such feature, often overlooked, is the ability to rename rescued beasts. This simple addition significantly enhances player immersion and personalization. This guide will walk you through the process.
Steps to Nicknaming Beasts:
- Access the Vivarium: Navigate to the Room of Requirement in Hogwarts Castle and enter your Vivarium.
- Summon the Beast: Ensure the beast you wish to rename is present. If it's in your inventory, summon it using the Beast Inventory menu.
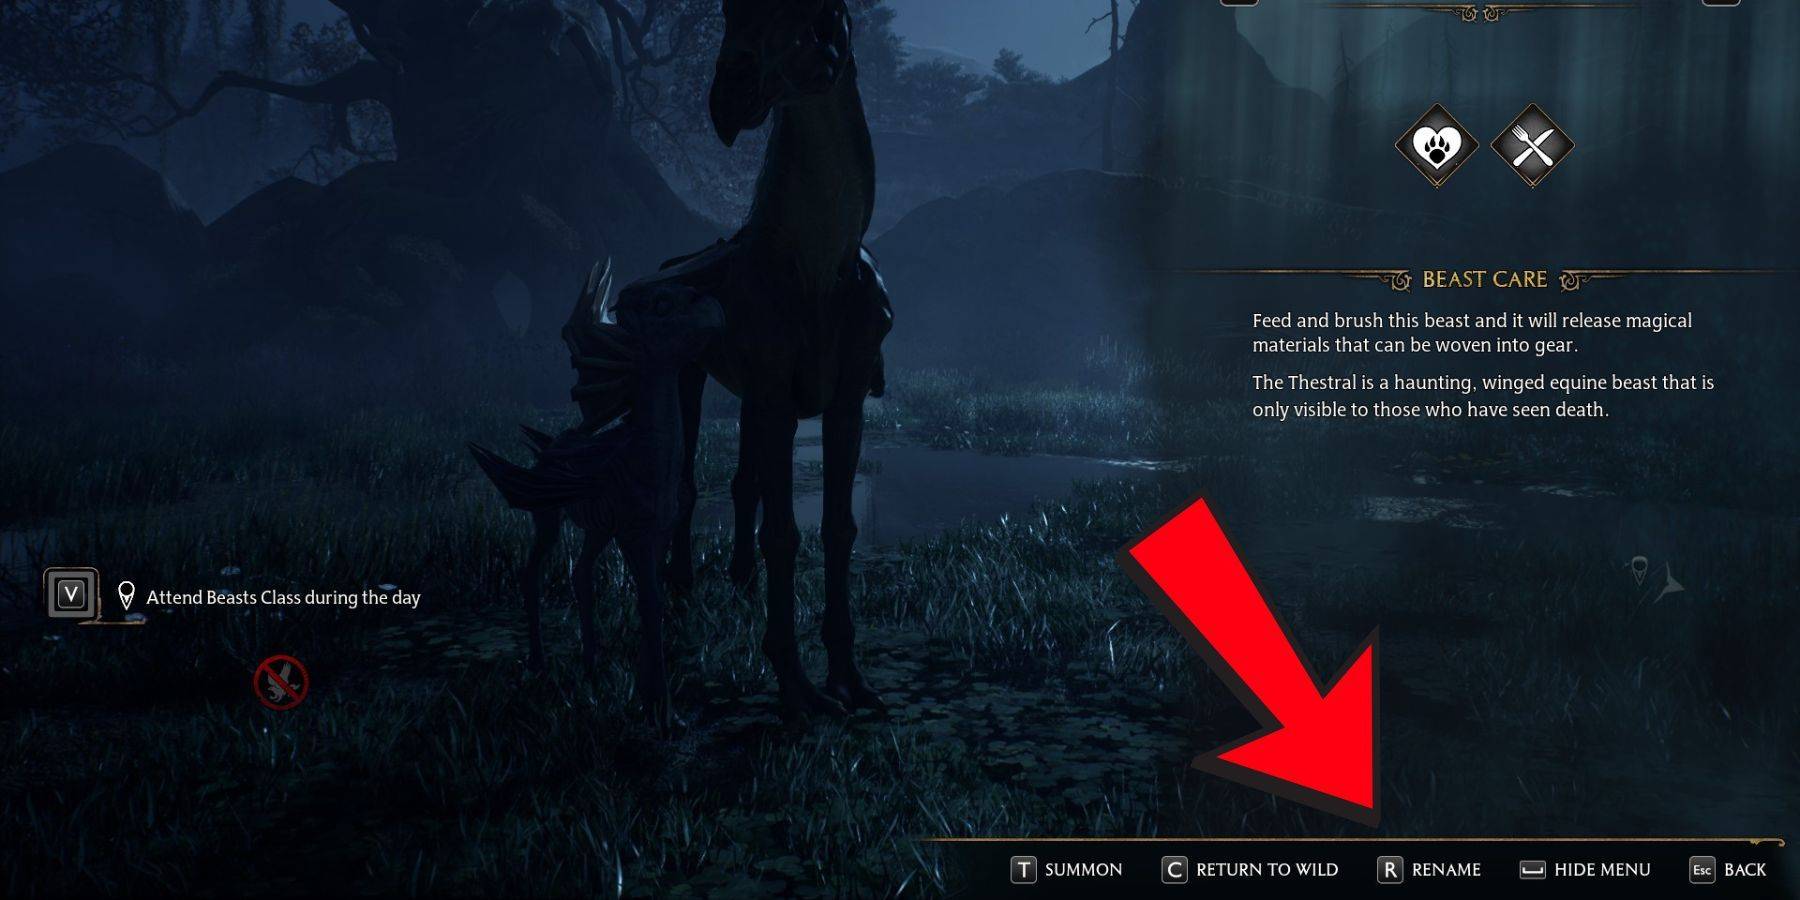
- Interact with the Beast: Approach the beast and interact with it. This will display its overall health and well-being.
- Select "Rename": Within the interaction menu, you'll find the option to rename your beast. Select it.
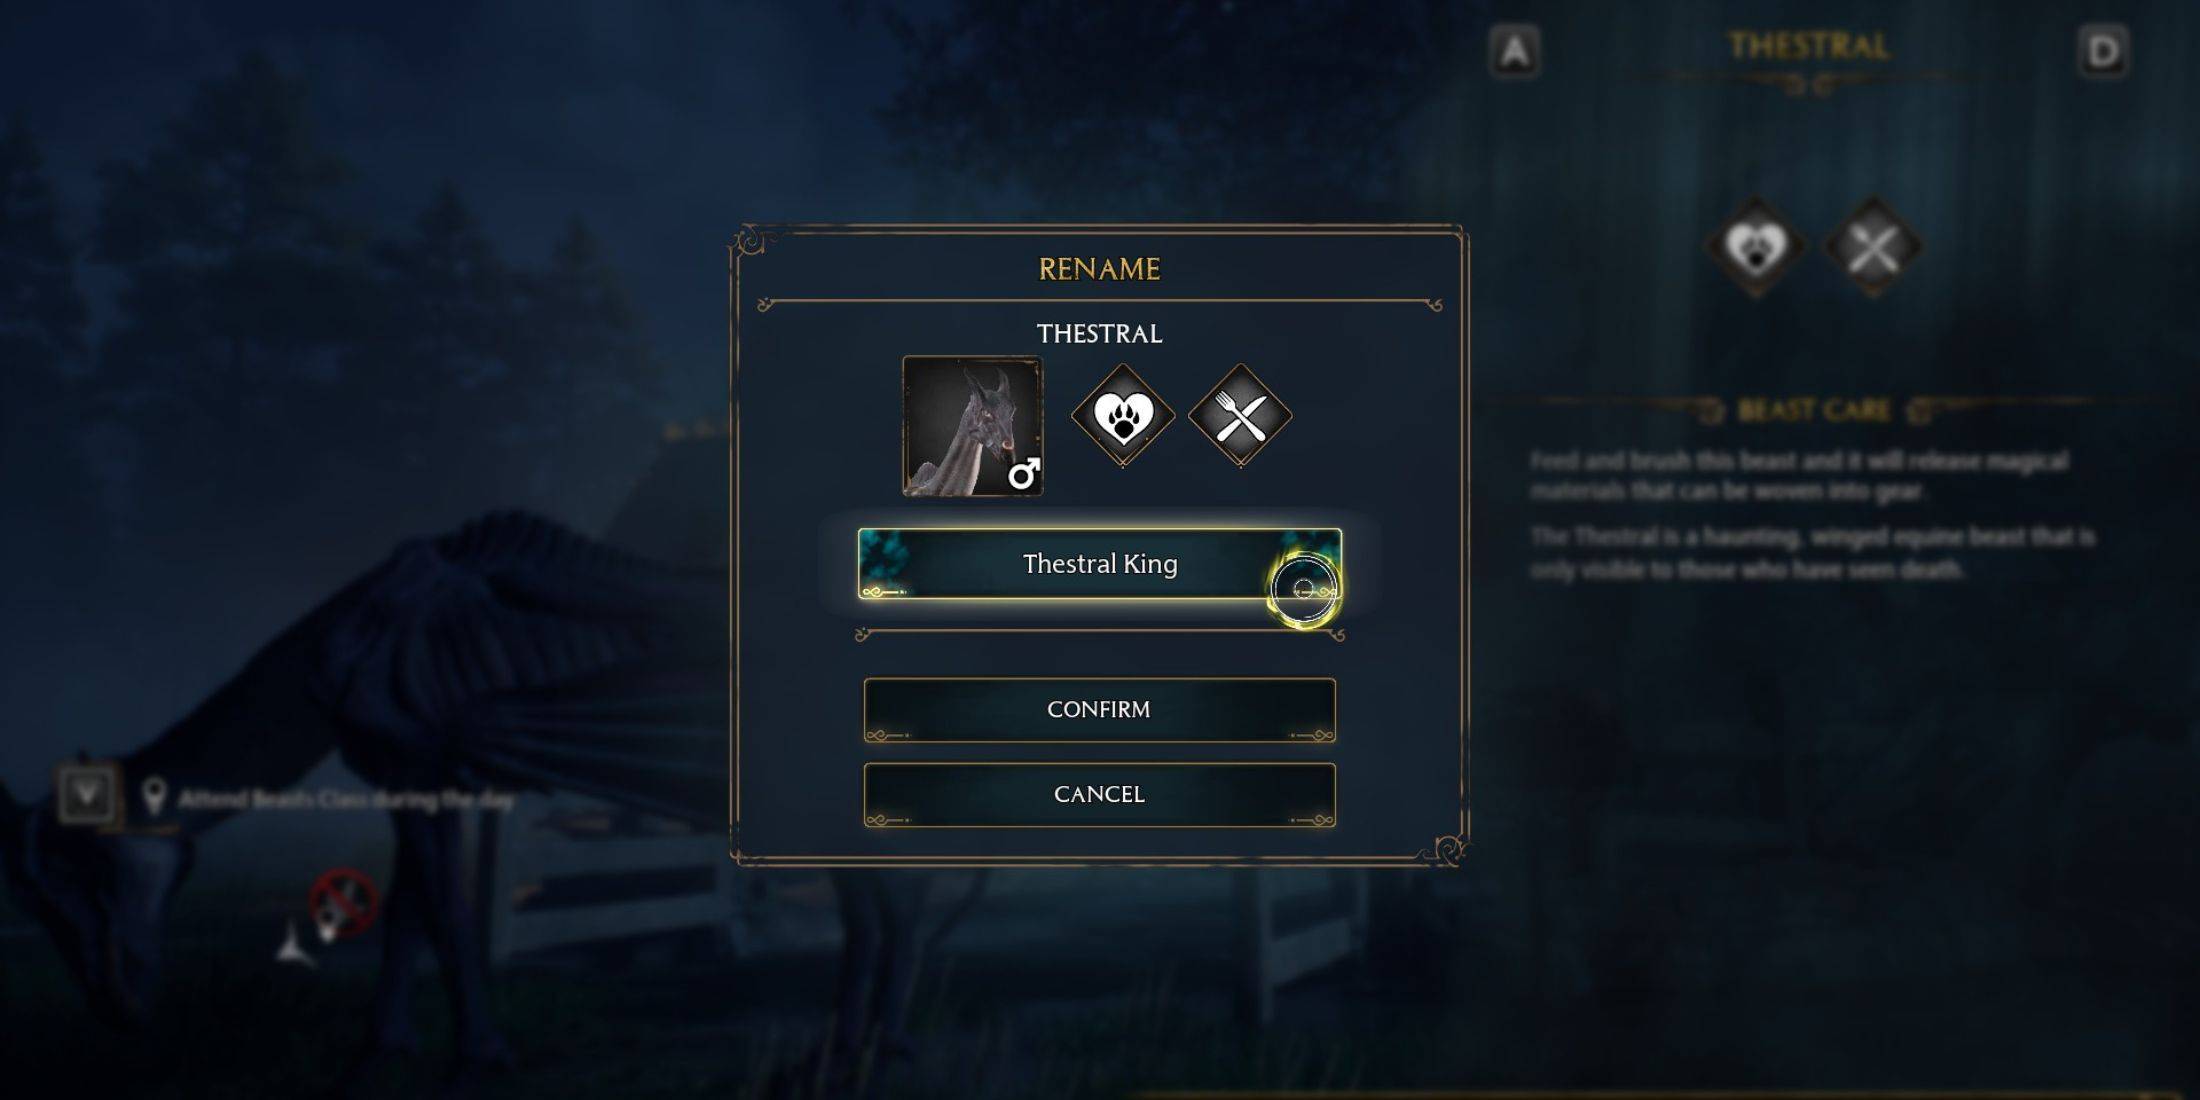
- Enter and Confirm Nickname: Type your chosen nickname and click "Confirm."
- View Nickname: Approach the beast again and interact; its new nickname will be displayed.
Benefits of Renaming Beasts:
Renaming your beasts offers several advantages:
- Improved Management: Easily identify and manage your collection, especially helpful when tracking rare creatures.
- Unlimited Renaming: Change nicknames as often as desired – there are no restrictions.
- Enhanced Ownership: Personalize your experience and strengthen your connection with your rescued beasts.
Enjoy the added layer of customization and discover the satisfaction of giving unique names to your magical companions in Hogwarts Legacy!