Enhance your Minecraft world with personalized artwork! This guide provides a straightforward method for crafting and placing paintings within your blocky realm.
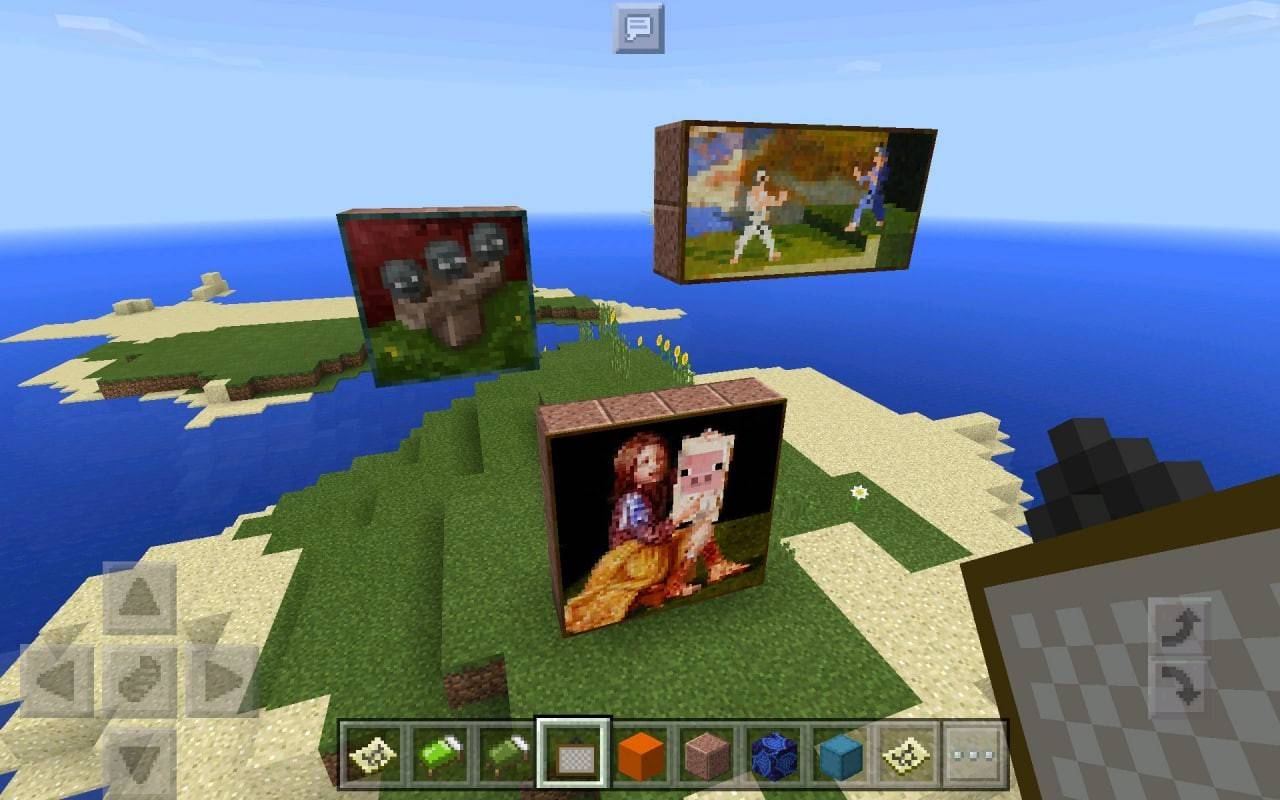 Image: photo-search.site
Table of Contents:
- Necessary Materials
- Painting Creation
- Hanging Your Artwork
- Custom Paintings?
- Fun Facts
Gathering Supplies:
To begin your artistic endeavor, you'll need two simple ingredients:
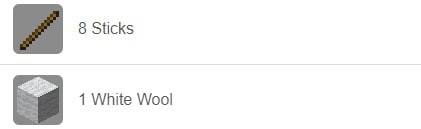 Image: digminecraft.com
Obtain wool by shearing a sheep – any color will suffice!
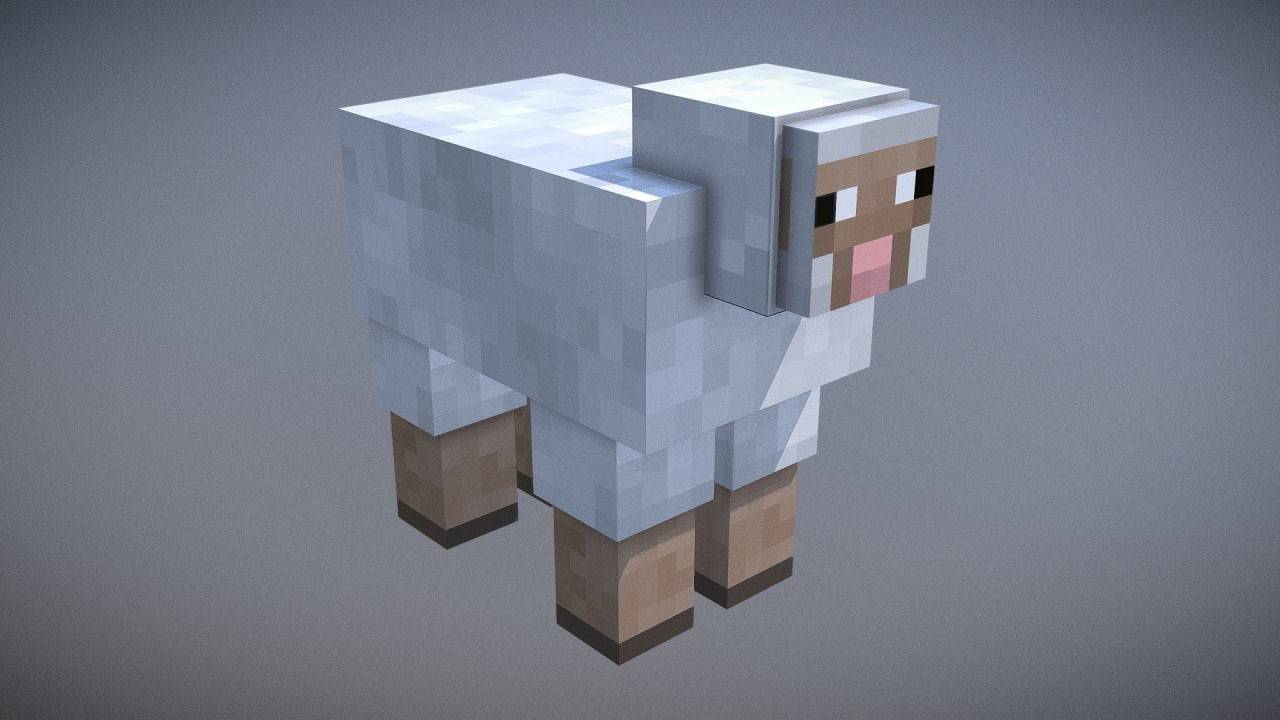 Image: steamcommunity.com
Sticks are easily acquired by harvesting wood from trees and crafting planks into sticks.
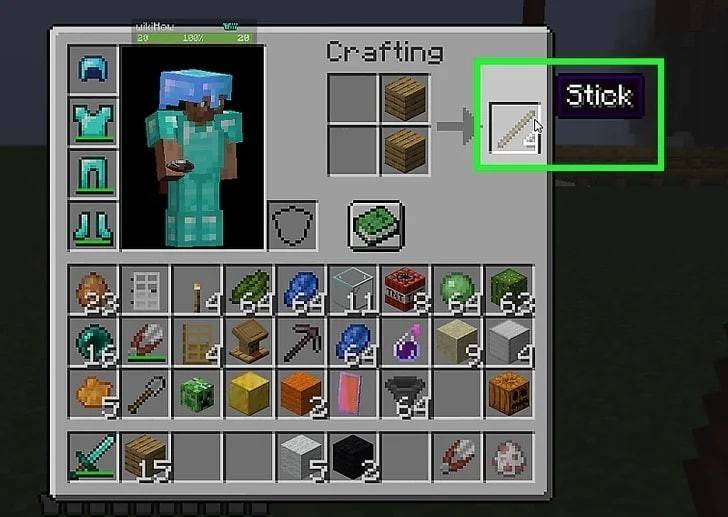 Image: wikihow.com
Crafting Your Painting:
Open your crafting grid and arrange the materials as shown below: A piece of wool in the center, surrounded by sticks.
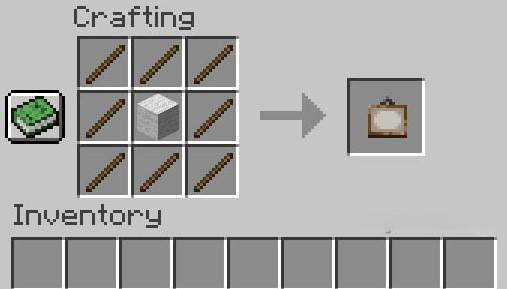 Image: digminecraft.com
Congratulations! You've created a Minecraft painting!
 Image: pinterest.com
Hanging Your Masterpiece:
Simply right-click on a wall while holding the painting to hang it. The image is randomly selected, adding an element of surprise!
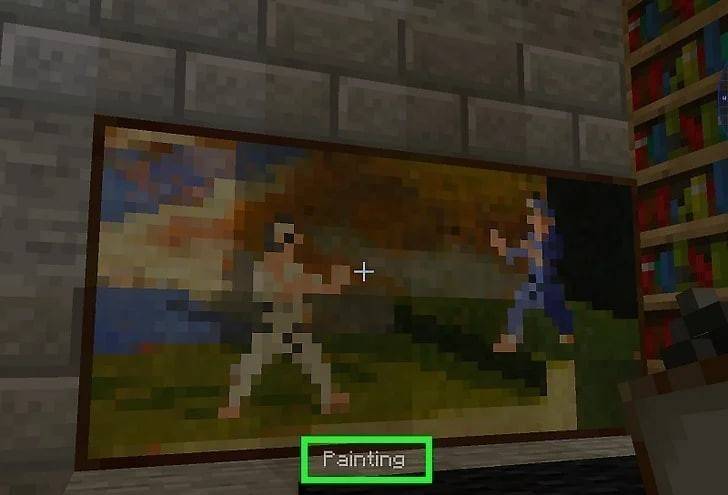 Image: wikihow.com
For larger spaces, place a painting in the bottom-left corner of your designated area and watch it expand to fill the space.
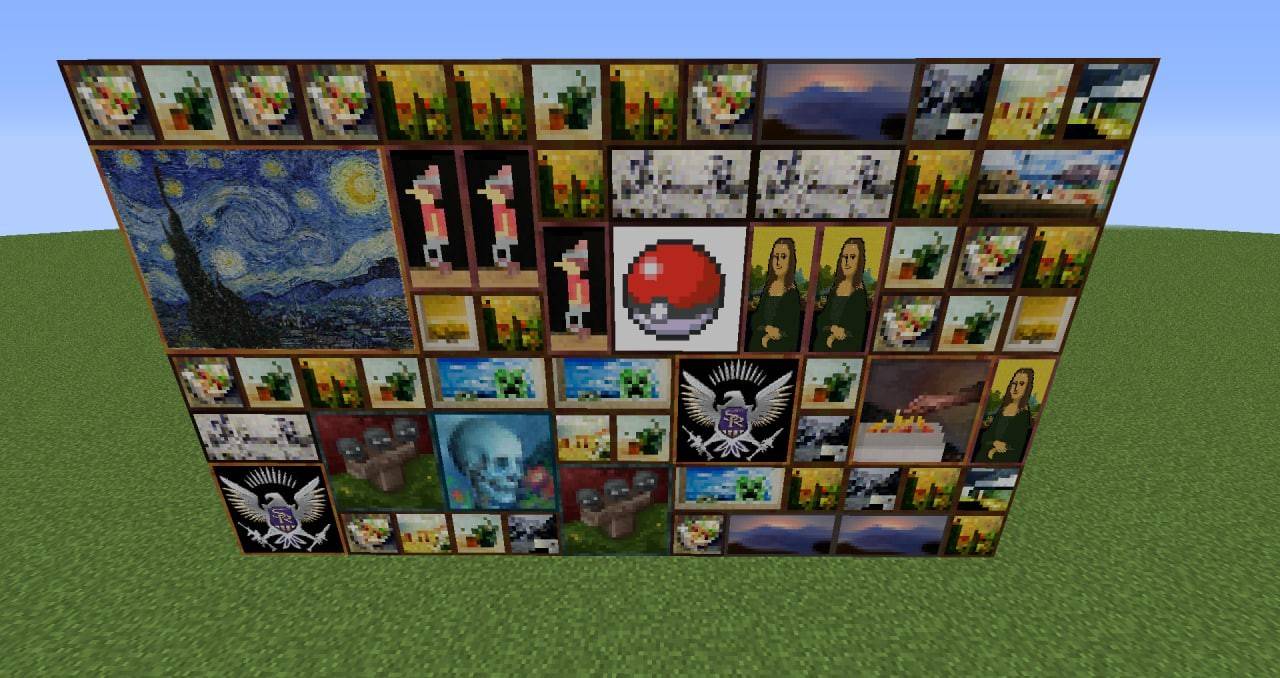 Image: cursefire.com
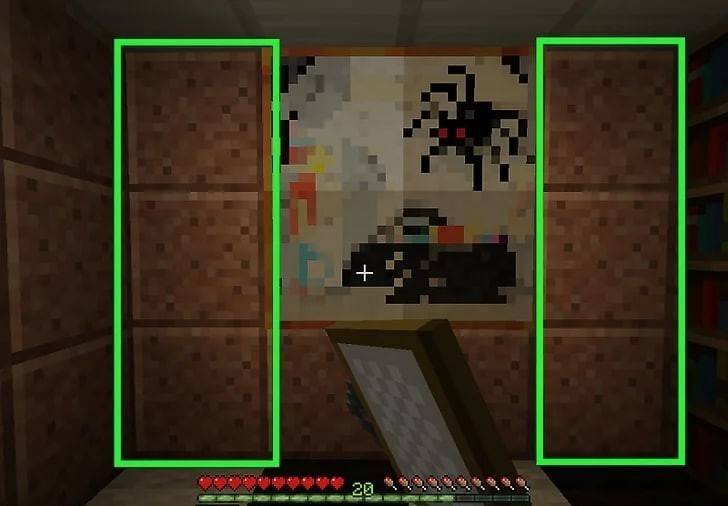 Image: wikihow.com
Note: North/South facing paintings are brighter than East/West facing ones.
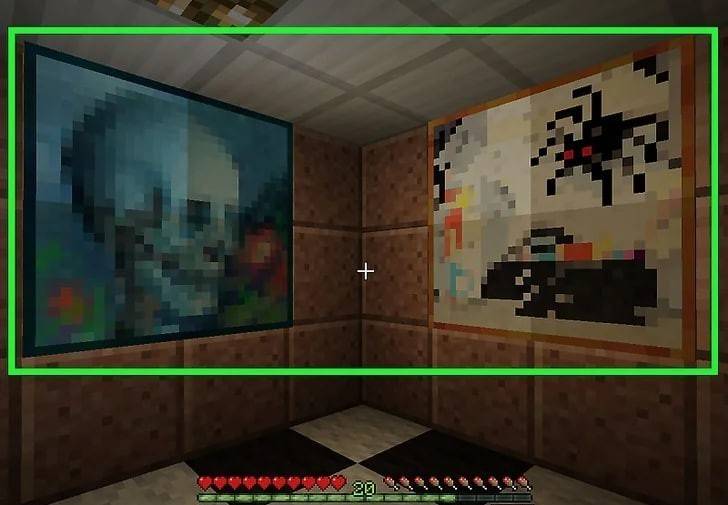 Image: wikihow.com
Custom Paintings:
Creating truly custom paintings requires modifying game files or utilizing resource packs. Vanilla Minecraft does not support this feature.
Interesting Facts:
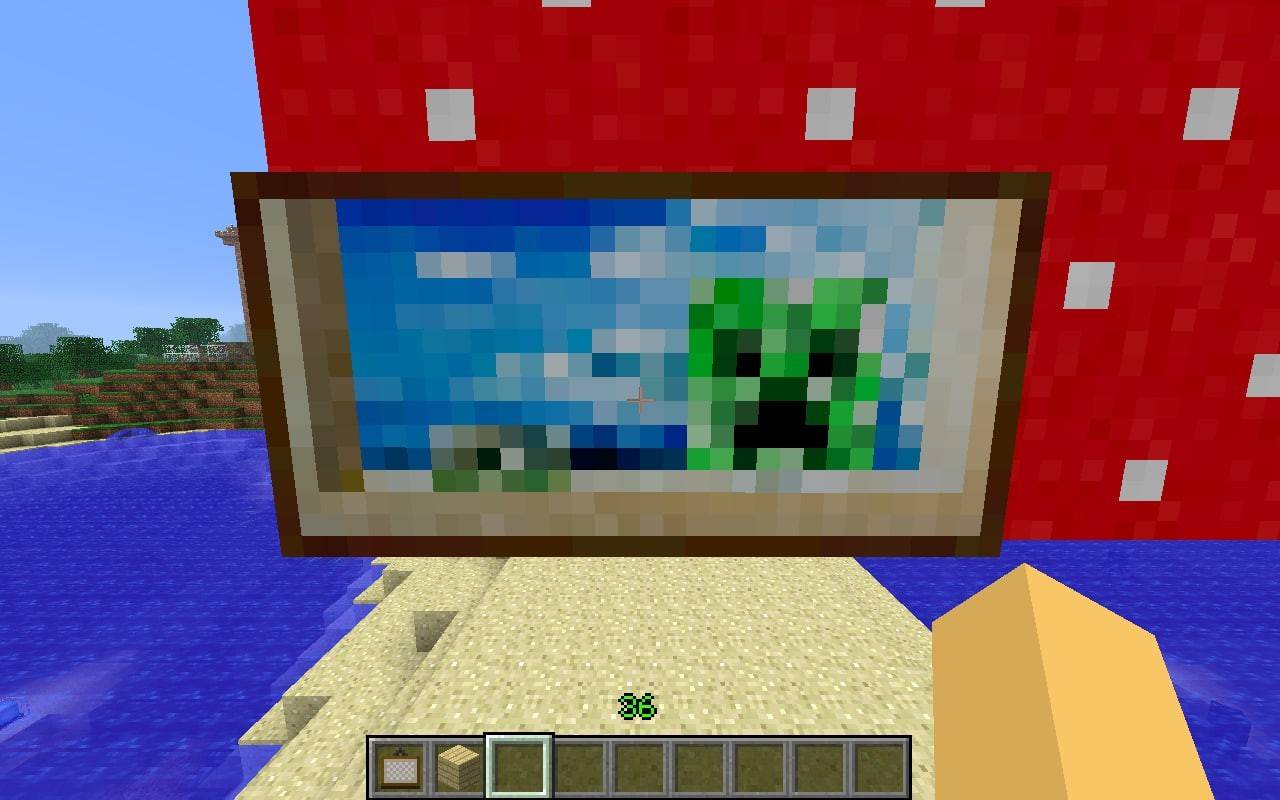 Image: autodromium.com
- Paintings placed above light sources act as lamps.
- They are fire-resistant.
- Strategically placed paintings can conceal chests, providing a hidden storage solution.
This guide covers the essentials of Minecraft painting creation and placement, along with some helpful tips and tricks. Happy decorating!